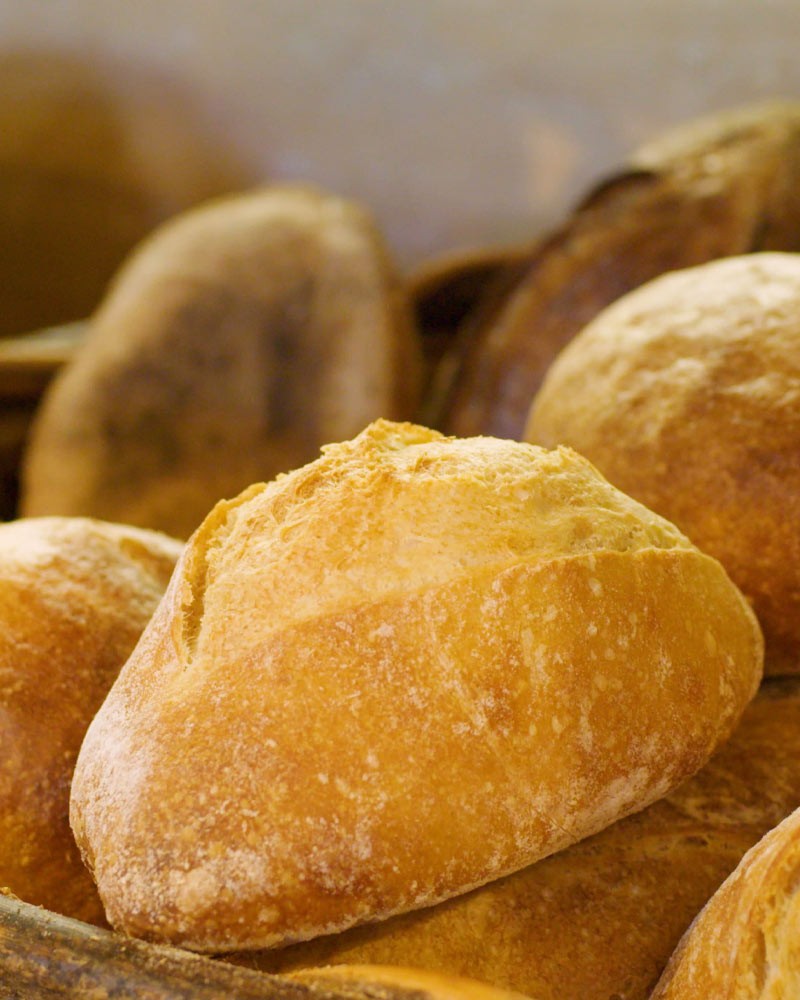
Wild Yeast Grape Starter
Pair With: Oberon Sauvignon Blanc
Provided by: The Model Bakery
Makes about 3 cups/720 ml
We base many of our artisan breads on a fermented culture made from the local wine grapes. The first batch was created in the early years of the bakery. Many strains of wild yeasts thrive on the fruit, so Karen knew that it wouldn’t be difficult to “catch” the yeast. She simply crushed Gamay grapes in a big container, stirred in flour to make a batter, covered the mixture with cheesecloth to keep out fruit flies, and came back in a few days to a terrific goo that could be used to make bread rise. At home, it is easier to use freshly crushed and strained grape juice. You can use any grapes, but we certainly recommend local, organic fruit, if available, and if they are a wine variety, so much the better. The amount of yeast and bacteria in your personal microclimate (to be specific, your kitchen) and ambient temperature affect the process, so plan on at least a week for fermentation and aging to allow for variables.
If a clear brown or gray liquid forms on the top of the starter at any time during the process, don’t be alarmed. It is just the alcohol that forms during fermentation. Simply stir it in before using the starter. If the liquid is pink, or if the starter smells unappetizingly funky, you have captured unwanted bacteria, so throw out the starter and start again.
Ingredients
9 oz/255 g fresh grapes on the stem, preferably organic and/or wine grapes
1/2 cup/120 ml water, plus more as needed
3/4 cup/110 g bread flour, plus more as needed
1/4 cup/25 g whole wheat flour
2 Tbsp rye flour
Directions
Day One: Put 9 oz/255g fresh grapes (any variety will do, but preferably organic and/or wine grapes) in a bowl. Mash and crush the grapes in a bowl with a potato masher or pestle to extract the juice. Strain in a wire sieve to remove seeds and skins. Measure 1/4 cup and discard (or drink) the remaining juice.
Combine the grape juice, water, bread flour, whole wheat flour, and rye flour in a 3-qt/2.8-L transparent bowl or covered container with a rubber spatula to make a sticky batter-dough. Scrape down the sides of the bowl. Cover the container with the lid ajar, and let stand at room temperature for 24 hours.
Day Two: The mixture should show some small bubbles breaking on the surface and sharp-smelling aroma. (If not, let the mixture stand for another 24 hours.) Stir 1/2 cup/75 g bread flour and 1/3 cup/75 ml water into the mixture. Scrape down the sides of the bowl. Cover tightly and let stand for 24 hours.
Day Three: At this point, you will see more active bubbling and the mixture will smell like tart apples. Stir in 1/2 cup/75 g bread flour and 1/3 cup/75 ml into the remaining starter in the bowl. Scrape the sides of the bowl, cover tightly, and let stand for 24 hours.
Day Four: The mixture will look like thick pancake batter and if your container is clear, you will see a clear network of bubbles through the side of the container. Stir in 1/2 cup/75 g cup bread flour and 1/3 cup/75 ml water. Mark the level of the starter on the outside of the container with a marker or a piece of masking tape so you can check how much the starter rises. Scrape,
cover, and let stand until the starter doubles, deflates, and rises again, about 24 hours. (Let the starter stand for another 12 hours if the rising and deflating doesn’t occur.)
Day Five: The culture is almost fully developed, and will smell appetizingly sour with aromas reminiscent of yogurt or cheese. Stir the starter to deflate it. Cover the container tightly and refrigerate for 2 days to age and strengthen the culture before using to build the levain.
To maintain the starter, it must be refreshed once a week. Discard (or use or give to a fellow baker) about half (around 1 1/2 cups/360 ml) of the starter. Stir 1 cup plus 2 Tbsp/165 g bread flour and 3/4 cup/180 ml water to feed the remaining starter. Cover loosely and let stand at room temperature until doubled, about 4 hours. Refrigerate until ready to use. If you aren’t able to feed the starter once a week (let’s say that you will be on vacation), then have someone do it for you. You can occasionally extend the period between feedings to two weeks, but don’t make a habit of it, or the starter could become too sour to use.